

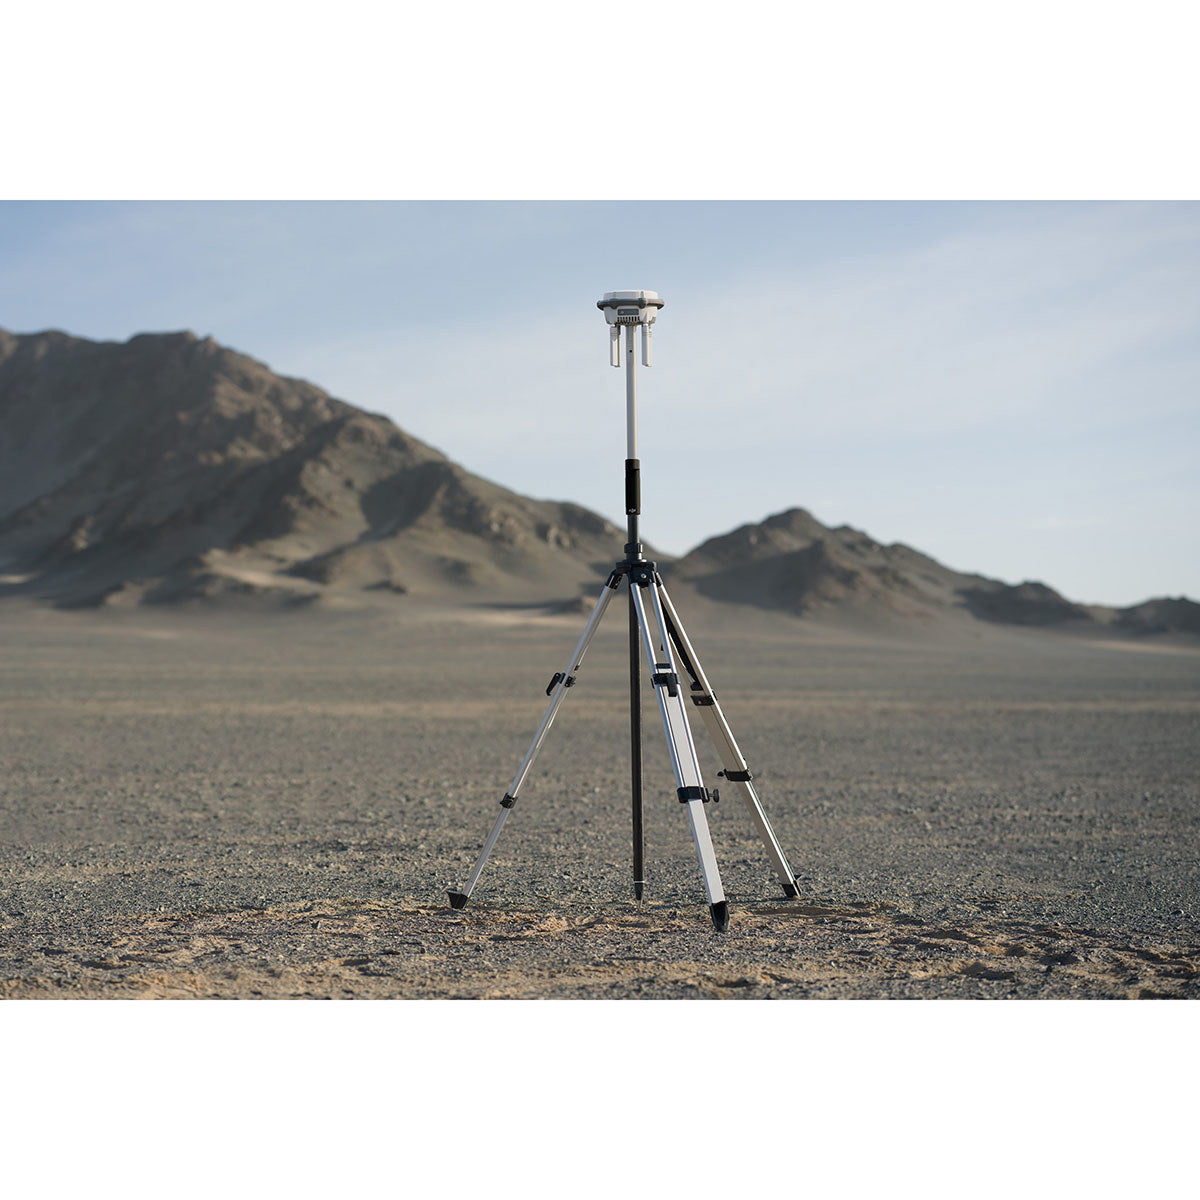
Quick answer: The DJI D-RTK 3 Multifunctional Station ($2,365) works two ways on a survey job. Set it up over a tripod as a base station and it broadcasts corrections to your aircraft when network RTK is weak or absent. Mount the same unit on a survey pole as a rover and it becomes a handheld point stakeout tool that walks you to a designed coordinate. The field rule that decides whether a staked point is good: hold horizontal error under 2 cm for 3 to 5 seconds before you record it.
Updated August 2026.

DJI has published a tutorial in its D-RTK 3 series covering the point stakeout workflow end to end, from office prep through the final task report. It is worth watching because stakeout is the part of the job most drone-first operators never learn: it is the reverse of surveying, where instead of recording where something is, you walk to where something is supposed to be and mark it.
Below is the procedure as DJI walks through it, plus the parts that matter if you are deciding whether one D-RTK 3 can cover both your aerial and ground-truth work. If you are here from our Zenmuse L3 survey workflow guide, this is the base station that article keeps referring to.
Before you leave the officeWhat has to be true before a stakeout job will work?
DJI front-loads the prep, and the order matters. Three conditions have to hold before the rover will produce numbers you can defend:
A clean sky and a stable fix
The stakeout environment has to meet RTK requirements: no obstructions overhead, no strong interference nearby, and a stable RTK fix. A float solution is not a stakeout solution. If the site cannot hold a fix, no amount of app configuration rescues it.
Confirmed correction source
Confirm network RTK coverage and signal stability for the site before mobilizing. Where signal is weak or missing entirely, plan to set up a D-RTK 3 base station on site for the rover to connect to instead.
Charged and paired
Ensure the D-RTK 3 and your phone are both fully charged and properly connected before heading to the site. The rover pairs to the DJI Enterprise app over Bluetooth, so a dead phone is a dead survey day.
The last piece of office prep is the point file itself. Stakeout coordinates are saved as a CSV in the required format and loaded onto the device before you leave. You can add points by hand in the field, but importing a prepared file is what keeps a large stakeout task from turning into a typing exercise in the sun.
Coordinate systemsHow do you set up the coordinate system and transformation parameters?
This is the step that separates a survey workflow from a mapping one, and it is done on the manage coordinate system page in the app rather than in the field.
- Projected coordinate systems. If all of your stakeout points use a projected coordinate system, go to the manage coordinate system page and create the system you need before the job.
- Elevation reference. To work against an elevation reference rather than raw ellipsoid heights, select a vertical coordinate system and import a reference TIFF file for the elevation conversion.
- Parameter transformations. If you are tying into an existing local system, use that system plus point pairs to calculate four parameter or seven parameter transformations. Create a custom coordinate system, then under parameter calculation either import a CSV of the point pairs or add the points manually.
Getting this wrong is the classic way a stakeout job goes quietly and completely sideways: every point lands with beautiful 2 cm precision in the wrong datum. Build and verify the coordinate system before the CSV, not after.
On siteHow do you set up the D-RTK 3 as a rover on the survey pole?
The on-site sequence is short. Mount the D-RTK 3 on the survey pole and raise it to an appropriate height. Power on the station and your phone, open the DJI Enterprise app, and connect to the rover over Bluetooth. Set the RTK parameters, then open the device info page and confirm two things before you touch anything else: that the status reads normal and that you have an RTK fix.
From there, create the task. Select point stakeout, confirm, and on the create task page set the task name, coordinate system, RTK source, coordinate format, and pole height. Pole height is not a formality. It is subtracted from every measurement you take, so an unrecorded change to the pole is a systematic vertical error across the whole task.
With the task created, click add to load points, either by manual input (point name, coordinate format, coordinate data, then done) or by selecting your prepared CSV file to import the whole set at once. Click done and you are in the stakeout task.

How close is close enough when you are staking a point?
The rule from the tutorial: the point is reached when horizontal error is under 2 cm and stays there for 3 to 5 seconds. Not when the arrow says zero, and not when the number touches 2 cm for an instant. It has to hold. Before you record, confirm the pole bubble is centered and steady, then click add point. If you are using tilt survey, the pole does not need to be vertical, but it does have to be kept still.
That stability window is the whole discipline of stakeout in one sentence. GNSS solutions wander, and a rover that is momentarily inside tolerance while your hand is moving is reporting a position it will not report again a second later. Waiting out three to five seconds of stable sub-2 cm error is what converts a reading into a staked point.
What does the point stakeout loop actually look like in the field?
Once the point library is imported, the app assigns the nearest point automatically and by default keeps prompting you toward the closest one. You can switch points from the bottom info bar, or change the order in settings.
The interface gives you satellites, RTK status, and accuracy information at the top. The bottom panel is the navigation: distance to the target broken out as altitude difference, stakeout distance, northward and eastward distance difference, and forward and rightward distance. Click the distance values to toggle between north and east orientation or forward and right orientation. North and east is what a surveyor reads naturally on a plan. Forward and right is what your feet understand while walking.
The loop itself:
- Use the map or the top left distance indicator to walk toward the assigned point.
- Follow the directional and audio prompts. As the pole nears the point, the app sounds an alert. The distance at which it sounds is configurable as the prompt tone distance.
- Keep the survey pole vertical and steady. If tilt survey is enabled, follow the app through the IMU heading calibration first.
- Use the distance indicators to slowly fine-tune the position of the pole tip.
- Hold under 2 cm horizontal error for 3 to 5 seconds with the bubble centered, then click add point.
- Mark the physical location on site per the project requirements. The point flips to staked out and you move to the next one.
Settings worth knowing before the first job: stakeout sequence, prompt tone distance, point type, point name, convergence count, pole height, and coordinate format. Convergence count and prompt tone distance are the two most people never touch and should.
ConnectivityWhat if the site has no reliable network RTK signal?
This is the case the D-RTK 3 is built for, and it is the reason a single station earns its keep on a survey crew. Where network RTK coverage is weak or nonexistent, you set up a D-RTK 3 as a base station on site and let the rover connect to that instead of to a network correction service. The correction source becomes local, and the requirement shifts from cellular coverage to line of sight and radio link.
Network RTK
Corrections come from a network service over cellular. Fastest to deploy, no base to occupy or guard, and the right default anywhere you have confirmed stable coverage across the whole site.
Local base station
The D-RTK 3 is deployed on site and broadcasts corrections itself. This is the fallback DJI specifies for areas with weak or no signal, and the same station serves the aircraft during aerial collection.
For very large or remote projects where even a local link is impractical for an entire flight, working surveyors fall back to a post-processed workflow instead, using nearby CORS stations or Rinex data from a static occupation. That approach is outside the scope of this tutorial, but it is covered in the ground control section of our Zenmuse L3 survey workflow guide, where a working land surveyor describes exactly when his crew makes that call. The short version of PPK versus RTK: RTK gives you a corrected position in the field, which is the only option when the job is stakeout, because you cannot stake a point you will not solve until tomorrow. PPK gives you a corrected position later, which is fine for aerial collection and useless for walking to a stake.
Closing outHow do you prove the work after the last point is staked?
The point list is the running record during the task, showing the status of every stakeout point along with its measured data. When the task is finished, go back through it and confirm all points are marked as staked out, then review the measuring point data for anomalies. That review is the field equivalent of a check shot: it is your last chance to catch a point recorded while the pole was leaning or the fix had dropped.
To close out, open the task library, click the task, and select view task report to see the results. Click export to save the data as CSV or JSON. That export is what goes back to the office, into the project record, and to the client.
What you needThe kit behind this workflow
The D-RTK 3 is the cheapest part of a survey-grade DJI setup and the part that determines whether the expensive parts produce defensible data. Most crews buy it alongside the aircraft and payload rather than after.
| Component | Role | Price |
|---|---|---|
| DJI D-RTK 3 Multifunctional Station | Base station for RTK corrections, and rover for handheld point stakeout | $2,365 |
| DJI Matrice 400 | Survey aircraft, up to 59 minutes flight time, built-in RTK, dual payload | $10,450 |
| DJI Zenmuse L3 | 5-return LiDAR plus RGB payload for terrain under vegetation | $17,400 |
| DJI Zenmuse P1 | Full-frame photogrammetry payload for survey-grade imagery | $7,630 |
Prices last verified August 2026. One D-RTK 3 covers both halves of the job: corrections for the aircraft during collection, and stakeout on foot afterward. See our Matrice 400 payloads guide for how the payload options compare.
Frequently asked questions
How much does the DJI D-RTK 3 Multifunctional Station cost?
The DJI D-RTK 3 Multifunctional Station is $2,365 at Global Drone HQ as of August 2026, shipping from the United States. It is the standard correction source for the Matrice 400 and Matrice 4 series and doubles as a handheld stakeout rover.
What accuracy do you need before recording a staked point?
Per the DJI point stakeout tutorial, the target is reached when horizontal error is under 2 cm and holds stable for 3 to 5 seconds. Confirm the pole bubble is centered and steady, then record the point. Momentary excursions below 2 cm do not count.
Can you use the D-RTK 3 without cellular coverage?
Yes. That is the primary reason to own one. In areas with weak or no network RTK signal, you deploy the D-RTK 3 as a base station on site and the rover connects to it instead of to a network correction service.
What is the difference between RTK and PPK on a drone survey?
RTK corrects positions live in the field, which is the only workable option for stakeout because you have to know where the point is while you are standing on it. PPK corrects positions after the fact using logged observations and CORS or Rinex data, which is a common fallback for aerial collection on large remote sites where a live link cannot be maintained across the whole flight.
How do you load stakeout points into the DJI Enterprise app?
Two ways. Save the stakeout coordinates as a CSV in the required format onto your device and import the file inside the task, or add points manually one at a time by entering point name, coordinate format, and coordinate data. Importing a prepared CSV is the practical option for anything beyond a handful of points.
Does the D-RTK 3 support tilt survey?
Yes. With tilt survey enabled you complete an IMU heading calibration through the app, after which the pole does not have to be held vertical. It does still have to be held still while the point is recorded.
How do you export stakeout results?
Open the task library, select the task, and choose view task report. From there, click export to save the results in CSV or JSON format for the project record or for delivery to the client.
Is the DJI D-RTK 3 NDAA compliant?
No. DJI products, including the D-RTK 3, are not NDAA compliant and are not approved for federal procurement. If your project requires an NDAA-compliant platform, the relevant manufacturers are Skydio, Parrot, Freefly, Inspired Flight, and Teal. See our NDAA compliant drones guide for the current approved list.
Spec a D-RTK 3 survey package
Tell us your site conditions, accuracy requirements, and which aircraft you fly, and we will spec the right base station and payload combination, then send a formal quote. Purchase orders and agency pricing supported.
Request a QuoteRelated reading
- DJI Zenmuse L3 survey workflow: the aerial half of this job, start to finish
- Drones for surveying and mapping
- Best drones for surveying and mapping in 2026
- DJI Matrice 400 payloads guide
- Zenmuse L3 vs L2 compared
Video and workflow credit: DJI Enterprise, from its D-RTK 3 tutorial series. Global Drone HQ is an authorized DJI enterprise dealer shipping from the United States.
Share:
DJI Zenmuse L3 Survey Workflow: Two Weeks of Fieldwork in Two Hours
DJI Zenmuse L3 Forestry and Plantation Mapping: 3,800 Hectares in Two Days